Reading time: 5 minutes | Difficulty: Beginner
Overview
Price options define what customers can purchase through your form. Learn how to set up fixed prices, custom amounts, and multiple pricing tiers.
Prerequisites
- A payment form created
- Know your pricing structure
Accessing Price Options
- Edit your payment form
- Click the Price Options tab
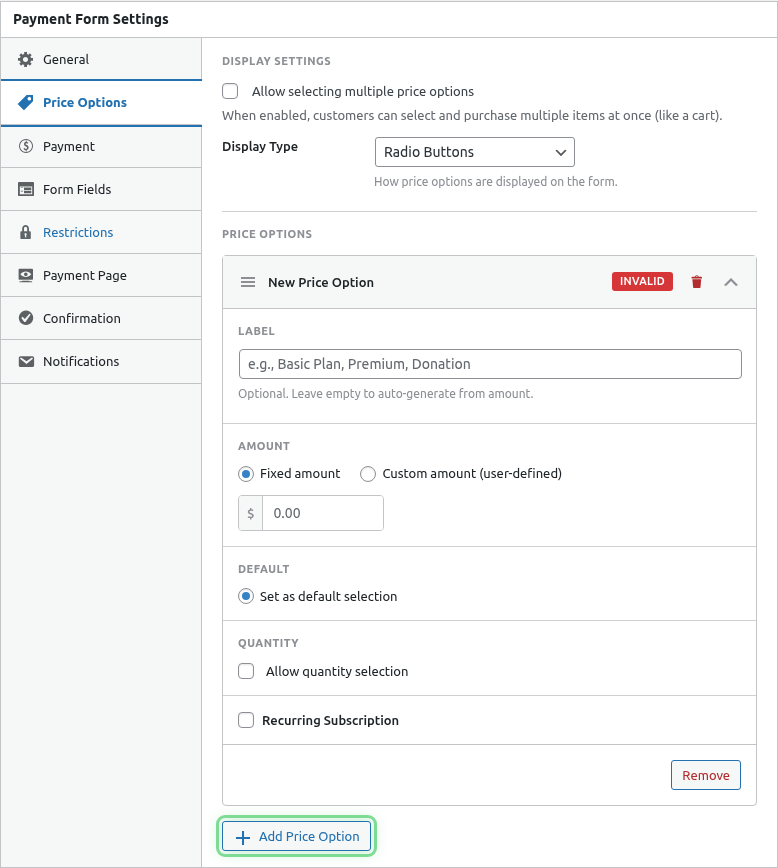
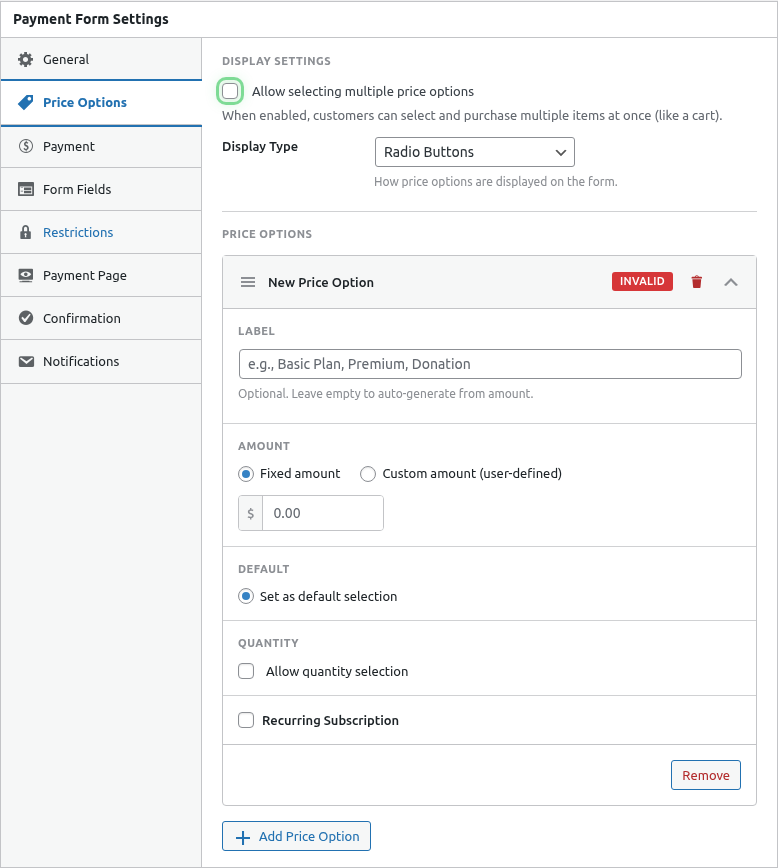
Adding a Price Option
- Click Add Price Option
- Configure the option settings
- Click outside the panel or add another
Price Option Settings
Each price option has these settings:
| Setting | Description |
|---|---|
| Label | Display name (e.g., “Basic Plan”) |
| Amount | Price in your default currency |
| Type | One-time or Subscription |
| Description | Optional details shown to customer |
Fixed Price Options
Set a specific amount customers pay.
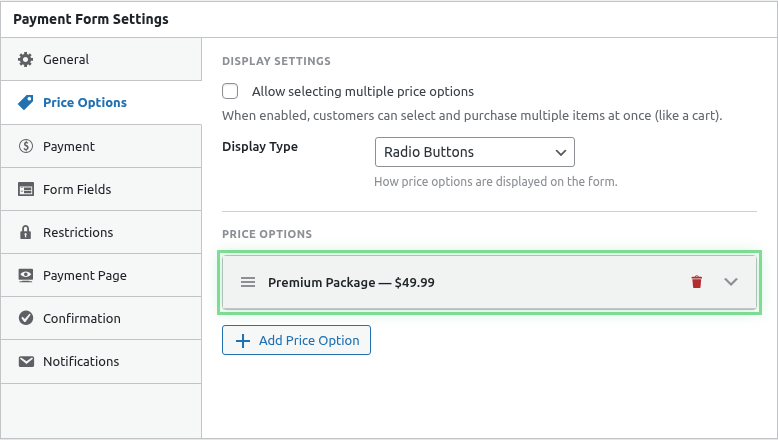
Single Product
For selling one item at one price:
- Add one price option
- Set the label (e.g., “Product Name”)
- Enter the amount (e.g., 29.99)
Multiple Tiers
For offering pricing tiers:
- Add multiple price options
- Give each a clear label
- Set different amounts
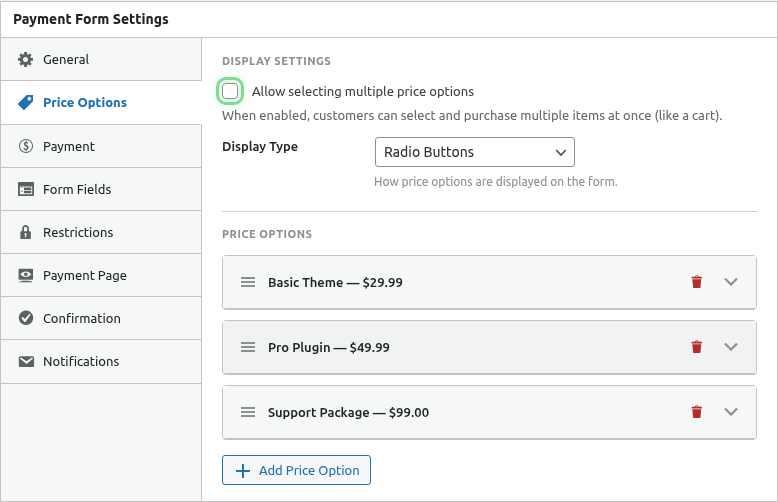
Example tier setup:
| Label | Amount |
|---|---|
| Basic | $10.00 |
| Standard | $25.00 |
| Premium | $50.00 |
Custom Amount (Pay What You Want)
Let customers choose their own amount.
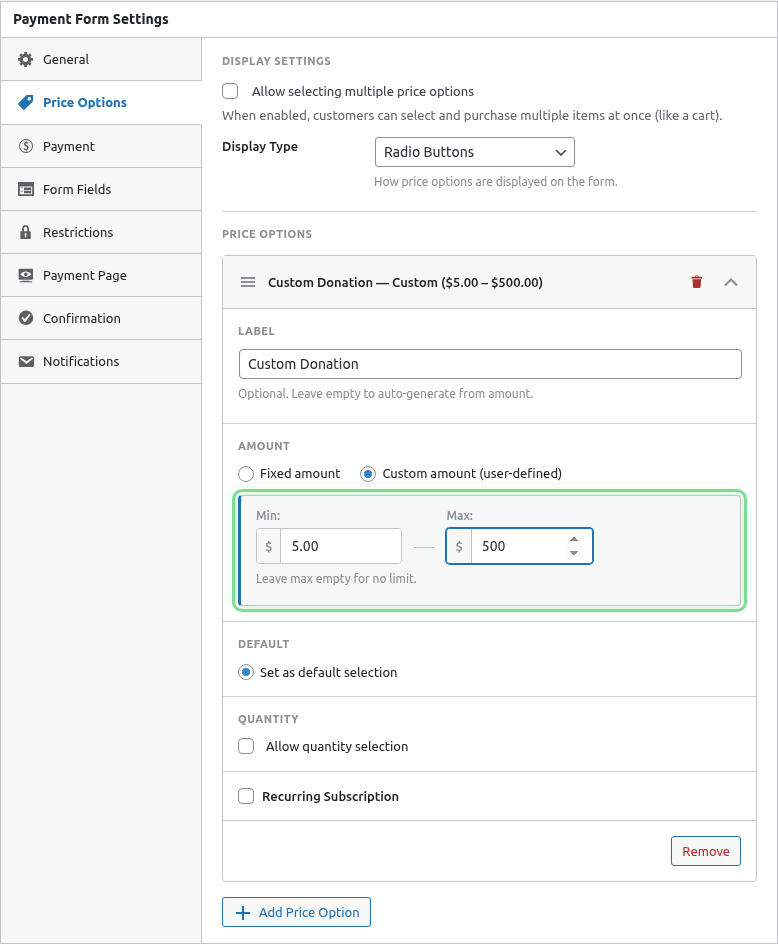
Configure Custom Amount
- Add a price option
- Enable Custom Amount
- Set constraints:
| Setting | Description |
|---|---|
| Minimum | Lowest amount allowed |
| Maximum | Highest amount allowed (optional) |
| Default | Suggested starting amount |
Use Cases
- Donation forms
- Pay-what-you-want products
- Flexible service pricing
- Tips and gratuities
Selection Modes
Control how customers select options.
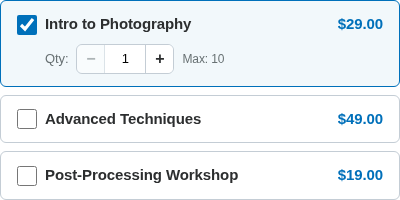
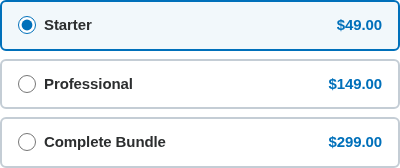
Single Selection (Default)
Customers choose ONE option:

- Radio button style selection
- Only one option can be selected
- Total = selected option price
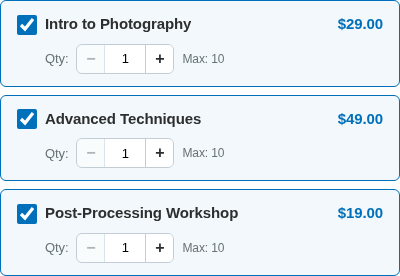
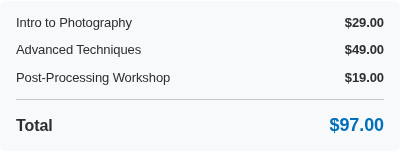
Multi-Select Mode
Customers can select MULTIPLE options:
To enable:
- Go to Price Options tab
- Find Selection Mode setting
- Choose Multiple
With multi-select:
- Checkbox style selection
- Multiple options can be selected
- Total = sum of all selected options
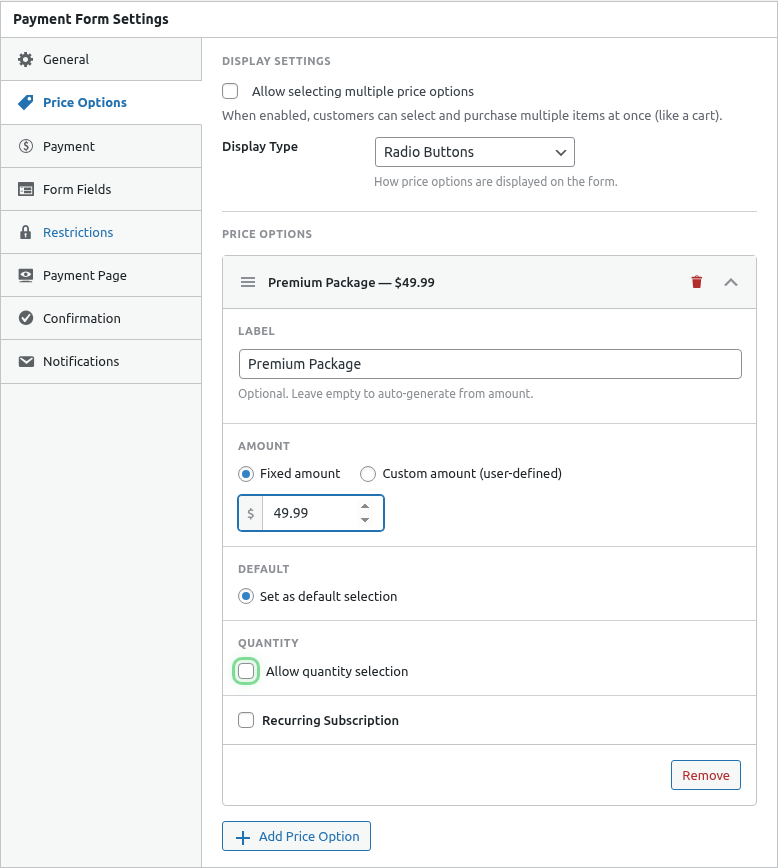
Quantity Selection
Allow customers to purchase multiple units.

Enable Quantity
- Expand a price option
- Enable Allow Quantity
- Set quantity constraints:
| Setting | Description |
|---|---|
| Minimum | Lowest quantity (usually 1) |
| Maximum | Highest quantity allowed |
| Default | Starting quantity |
Quantity Total Display
When quantity is enabled, the total updates in real-time:

Reordering Price Options
Drag and drop to reorder:
- Hover over a price option header
- Click and drag to new position
- Release to drop
The first option is selected by default on the frontend.
Expanding and Collapsing
- Click a price option header to expand/collapse
- Click Expand All or Collapse All for bulk actions
Default Selection
The first price option is selected by default. To change:
- Reorder options so your preferred default is first
- Or enable “No default selection” to require explicit choice
Deleting Price Options
- Expand the price option
- Click the Delete button
- Confirm deletion
Note: Deleting a price option doesn’t affect past transactions.
Currency
Price options use the currency set in:
WP Payment Pal > Settings > General > Currency
All prices on a form use the same currency.
Common Configurations
E-commerce Product
- Single fixed price
- Quantity enabled
- Maximum quantity: 10
Service Packages
- Multiple fixed prices
- Single selection
- No quantity
Donation Form
- Custom amount enabled
- Minimum: $5
- Default: $25
- Suggested amounts as fixed options
Event Tickets
- Fixed prices per ticket type
- Quantity enabled per option
- Multi-select mode
Frontend Display
Price Options Display
With Order Summary
What’s Next?
- Creating a Donation Form – Pay-what-you-want setup
- Building a Multi-Product Checkout – Multi-select mode
- Adding Quantity Selection – Quantity controls