Reading time: 3 minutes | Difficulty: Beginner
Overview
Add payment forms using the WordPress Block Editor (Gutenberg) with a dedicated block. This guide covers using the WP Payment Pal checkout block.
Prerequisites
- WordPress 5.0+ with Block Editor
- At least one payment form created
Adding the Block
Step 1: Open Block Editor
- Edit a page or post
- Ensure you’re in the Block Editor (not Classic)
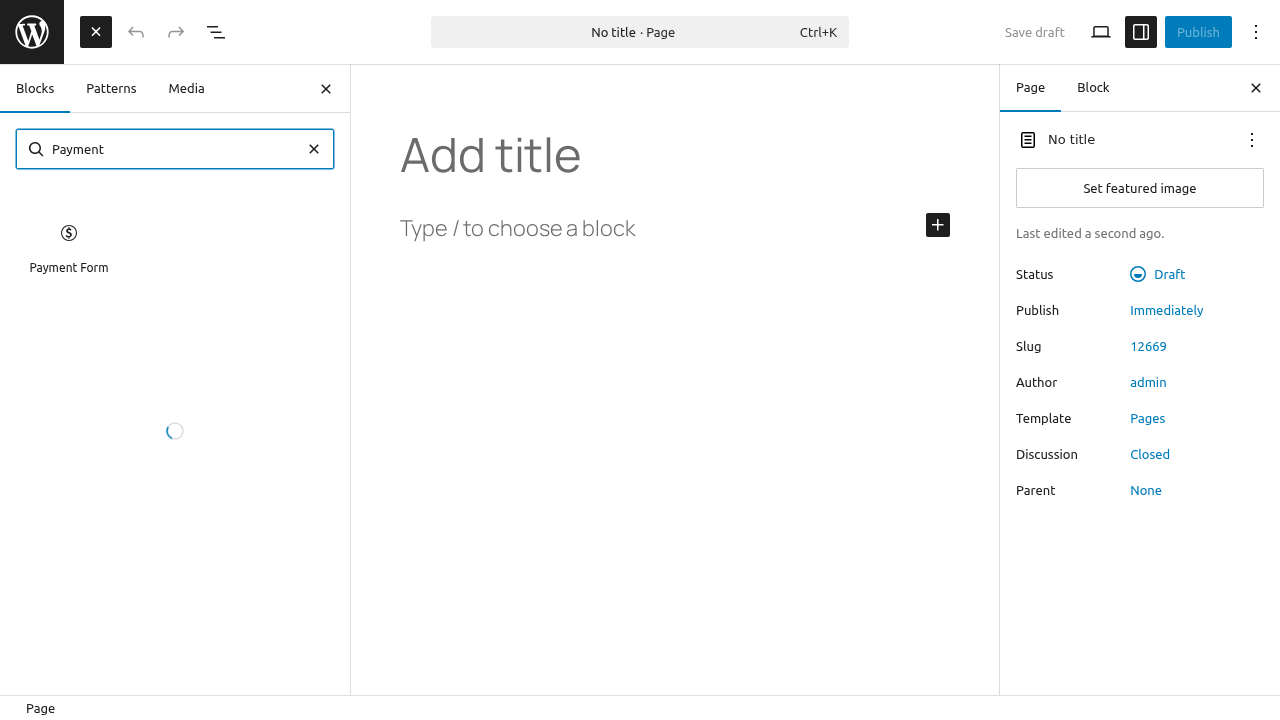
Step 2: Add New Block
- Click the + button to add a block
- Search for “WP Payment Pal” or “Checkout”
- Click the WP Payment Pal Checkout block
Step 3: Select Your Form
- The block appears with a dropdown
- Select the form you want to display
- The form preview loads in the editor
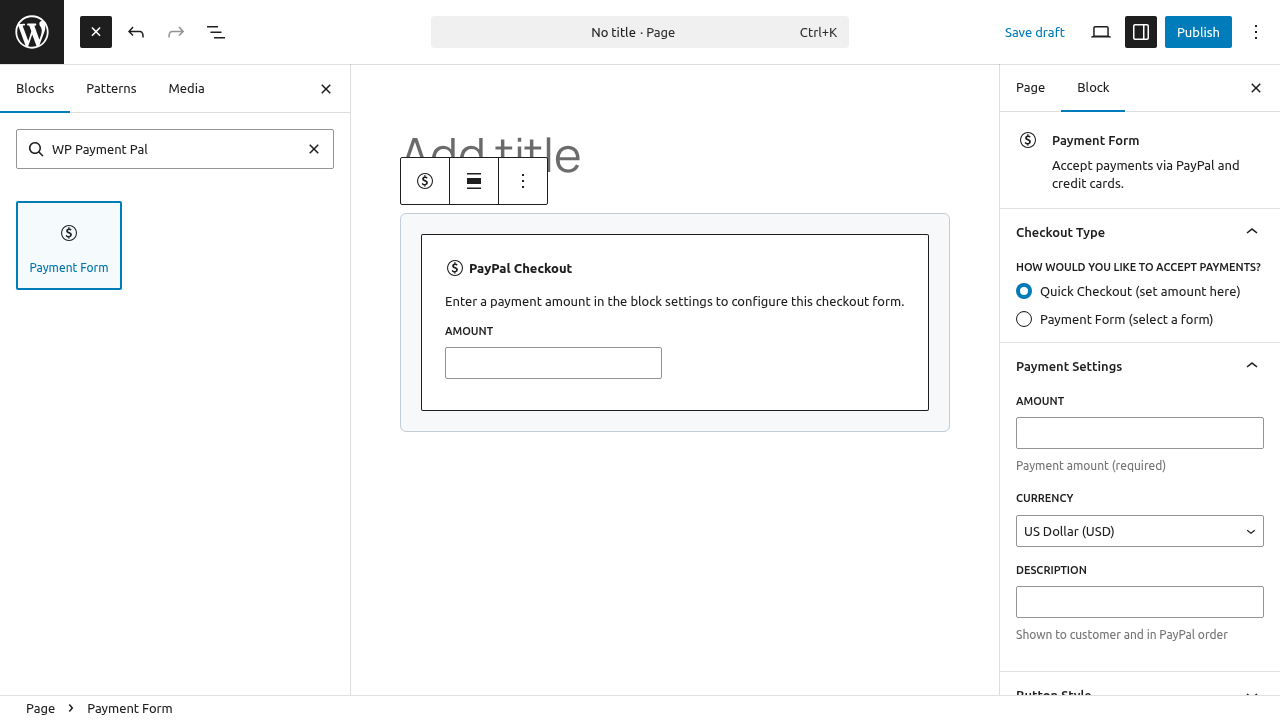
Block Interface
Once added, you’ll see:
- Form selector dropdown
- Preview of the selected form
- Block toolbar options
Block Settings
Form Selection
In the block itself:
- Dropdown lists all published forms
- Select to change which form displays
Block Toolbar
Standard block options:
- Move up/down
- Block alignment
- More options (duplicate, remove)
Sidebar Settings
When block is selected, check the right sidebar for any additional options.
Preview in Editor
The block shows a preview of your form:
- See form layout
- Verify correct form selected
- Note: Full functionality only on frontend
Examples
Single Form
- Add the block
- Select your form
- Publish
Multiple Forms
- Add first block, select form A
- Add second block, select form B
- Forms display in order placed
Form with Content
Mix blocks:
[Heading: Complete Your Purchase]
[Paragraph: Description text here]
[WP Payment Pal Checkout: Form 123]
Block vs Shortcode
| Feature | Block | Shortcode |
|---|---|---|
| Visual preview | ✓ | ✗ |
| Point and click | ✓ | Type required |
| Form selection | Dropdown | Know ID |
| Classic Editor | ✗ | ✓ |
| Widgets | Limited | ✓ |
When to Use Block
- Using Block Editor
- Prefer visual interface
- Easy form selection
When to Use Shortcode
- Classic Editor
- Widgets
- PHP templates
- Quick insertion
Converting Between
Block to Shortcode
- Select block
- Click More Options (three dots)
- Choose “Convert to Shortcode” (if available)
- Or note form ID and use shortcode manually
Shortcode to Block
- Delete shortcode text
- Add WP Payment Pal block
- Select the same form
Alignment Options
Use block alignment controls:
- None – Default width
- Wide – Wider than content
- Full – Full width
Depends on theme support.
Spacing
Add spacing around the form:
- Use Spacer blocks above/below
- Or wrap in Group block with padding
Troubleshooting
Block Not Found
- Search for “Payment” or “Checkout”
- Verify plugin is active
- Clear browser cache
No Forms in Dropdown
- Check forms are published
- Verify forms exist
- Try creating a new form
Preview Not Loading
- JavaScript may be blocked
- Check browser console
- Try refreshing page
Form Not Displaying on Frontend
- Verify form is published
- Check form restrictions
- Test in incognito mode
Block Patterns
Create reusable patterns:
- Add and configure the block
- Add surrounding content
- Select all blocks
- Create as Reusable Block or Pattern
Theme Compatibility
The block works with any block-enabled theme:
- Inherits some theme styles
- Payment UI remains consistent
- Test with your specific theme
Classic Editor Users
If using Classic Editor:
- Block not available
- Use shortcode instead
- See Payment Form Shortcode
Full Site Editing
For FSE themes:
- Block works in templates
- Add to site-wide areas
- Use in template parts
Mobile Preview
Preview at different sizes:
- Click Preview in editor
- Use responsive preview options
- Check mobile display
Best Practices
- Preview before publishing – Check appearance
- Test on frontend – Editor preview is limited
- One form per location – Unless specifically needed
- Check mobile – Verify responsive display
- Update blocks – Keep plugin updated
What’s Next?
- Using the Payment Form Shortcode – Shortcode method
- Embedding Forms on Your Website – All methods
- Understanding Form Types – Display options