Reading time: 4 minutes | Difficulty: Beginner
Overview
Send automatic receipt emails to customers after successful payment. This guide covers customizing customer receipt notifications.
Prerequisites
- A payment form created
- Email settings configured
Accessing Receipt Settings
- Edit your payment form
- Click the Notifications tab
- Find Customer Receipt section
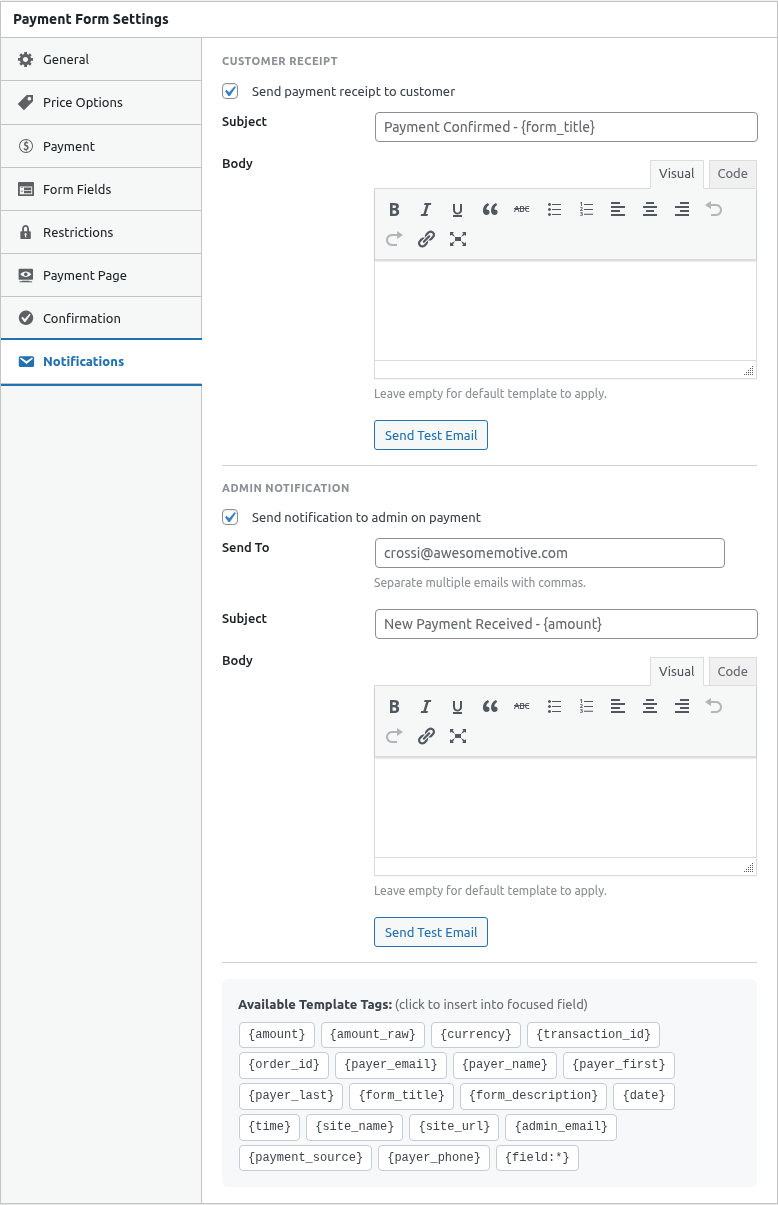
Step 1: Enable Customer Receipt
Toggle Send Customer Receipt to On.
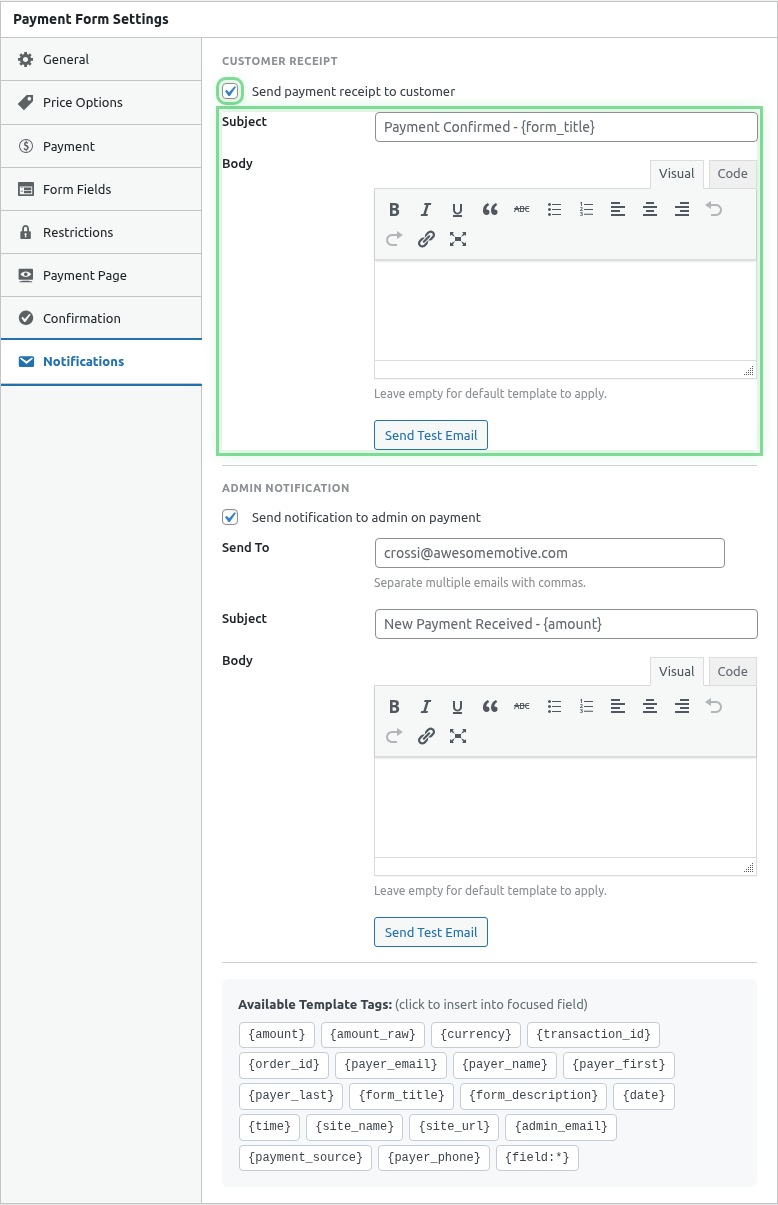
Step 2: Configure Email Details
Recipient
Defaults to customer’s email from the Email field.
Subject Line
Enter an email subject:
Your receipt from [Company Name] - {transaction_id}Thank you for your purchase! Order #{transaction_id}Payment confirmation for {amount}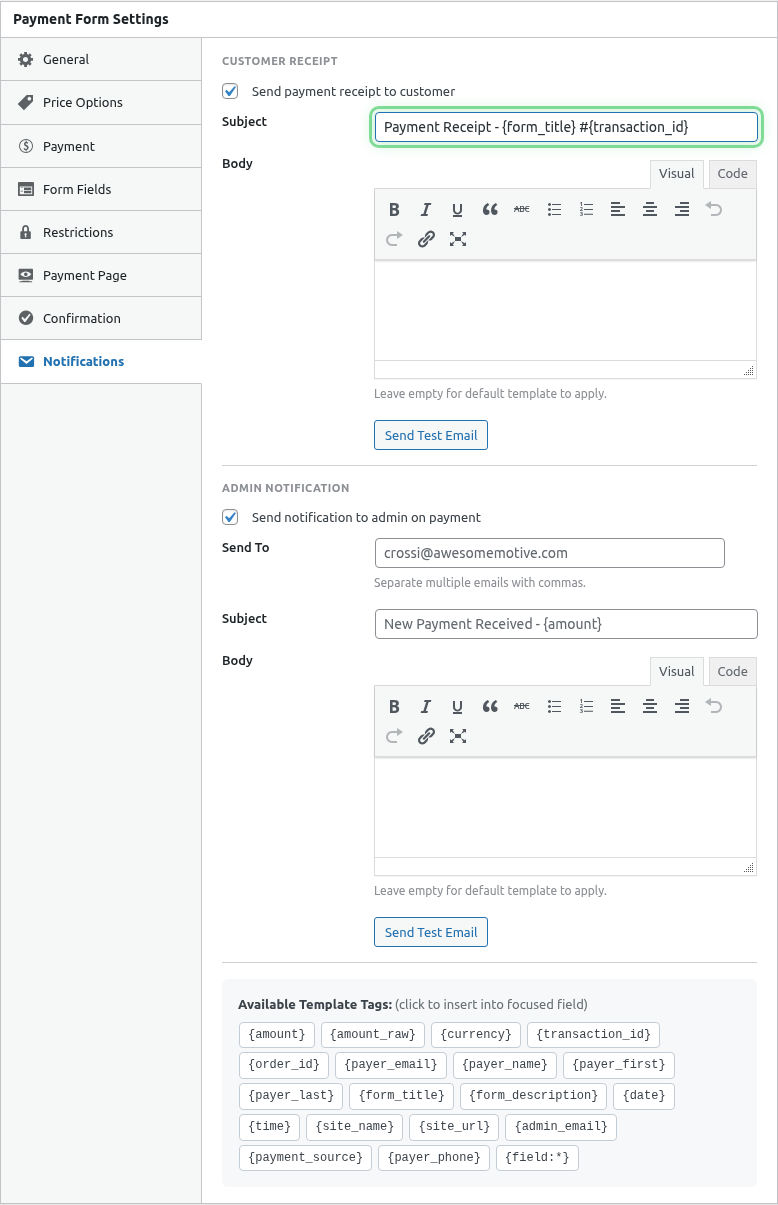
Email Body
Write your receipt content:
Hi {payer_name},

Thank you for your payment!

ORDER DETAILS
─────────────
Transaction ID: {transaction_id}
Date: {date}
Amount: {amount}

If you have any questions about your order, please contact us
at [email protected].

Thank you for your business!

[Company Name]
Smart Tags for Receipts
Use these tags for dynamic content:
| Tag | Description |
|---|---|
{payer_name} |
Customer’s full name |
{payer_email} |
Customer’s email |
{amount} |
Payment amount with currency |
{transaction_id} |
Unique transaction ID |
{date} |
Payment date |
{form_title} |
Form/product name |
{field:field_name} |
Custom field values |
See Using Smart Tags in Emails for complete list.
Receipt Email Templates
Standard Purchase
Subject: Order Confirmation - #{transaction_id}

Hi {payer_name},

Thank you for your purchase!

Order Summary
─────────────
Item: {form_title}
Amount: {amount}
Date: {date}
Transaction ID: {transaction_id}

Your order is being processed. You'll receive shipping
information once your items have been dispatched.

Questions? Reply to this email or visit our help center.

Best regards,
[Company Name]
Donation Receipt
Subject: Thank you for your donation of {amount}

Dear {payer_name},

Thank you for your generous donation of {amount} to
[Organization Name].

This email serves as your official donation receipt.

─────────────────────────────────
Donation Details
─────────────────────────────────
Date: {date}
Amount: {amount}
Transaction ID: {transaction_id}

[Organization Name] is a registered 501(c)(3) nonprofit.
EIN: XX-XXXXXXX

No goods or services were provided in exchange for this
contribution.
─────────────────────────────────

Your support makes a real difference. Thank you!

With gratitude,
[Organization Name]
Digital Product
Subject: Your download is ready! Order #{transaction_id}

Hi {payer_name},

Thank you for purchasing {form_title}!

YOUR DOWNLOAD
─────────────
Click here to download your files:
[Download Link]

This link expires in 7 days.

Order Details:
Amount: {amount}
Transaction ID: {transaction_id}

Need help? Contact [email protected]

Enjoy!
[Company Name]
Service Booking
Subject: Booking Confirmed - {form_title}

Hi {payer_name},

Your booking has been confirmed!

BOOKING DETAILS
───────────────
Service: {form_title}
Date/Time: {field:appointment_date}
Amount Paid: {amount}
Confirmation #: {transaction_id}

LOCATION
────────
123 Main Street, Suite 100
City, State 12345

WHAT TO BRING
─────────────
- This confirmation email
- Valid photo ID

Need to reschedule? Contact us at least 24 hours in advance.

See you soon!
[Business Name]
Formatting Tips
Keep It Professional
- Use a clean layout
- Include your branding
- Consistent formatting
- Easy to scan
Essential Elements
Every receipt should include:
- Greeting with name
- Amount paid
- Transaction ID
- Date
- Contact information
Mobile-Friendly
- Keep lines short
- Simple formatting
- Clear sections
- Easy to read on phones
Testing Receipts
- Configure receipt settings
- Save the form
- Make a test payment (Sandbox)
- Check your email for the receipt
- Verify Smart Tags populate correctly
Email Deliverability
Ensure receipts reach customers:
- Configure proper From address
- Use authenticated email (SPF, DKIM)
- Avoid spam trigger words
- Keep HTML simple
See Configuring Email Settings.
Per-Form vs Global
Receipt settings can be:
- Per-form: Customized for each payment form
- Global defaults: Set in Settings > Emails
Per-form settings override global defaults.
Receipt Timing
Receipts are sent:
- After payment completes successfully
- Before redirect (if configured)
- Nearly instantaneous
Multiple Receipts
Customers receive one receipt per successful payment:
- Refund triggers separate notification
- Subscription renewals send renewal receipts
Troubleshooting
Receipt not sending
- Verify receipt is enabled
- Check email field exists on form
- Test email server connection
- Check spam folders
Smart Tags showing literally
- Verify tag spelling
- Use correct format
- Ensure data exists
Receipt in spam
- Configure proper email settings
- Use authenticated email sending
- Check content for spam triggers
Best Practices
- Clear subject – Make it recognizable as a receipt
- All details – Include everything they need
- Contact info – Make support easy to reach
- Test thoroughly – Verify before launching
- Professional tone – Match your brand voice
What’s Next?
- Setting Up Admin Notifications – Your notifications
- Using Smart Tags in Emails – Dynamic content
- Configuring Email Settings – Email setup