Reading time: 5 minutes | Difficulty: Beginner
Overview
Create your first payment form in WP Payment Pal. By the end of this guide, you’ll have a working form ready to accept payments.
Prerequisites
- WP Payment Pal installed and activated
- PayPal account connected (at least Sandbox for testing)
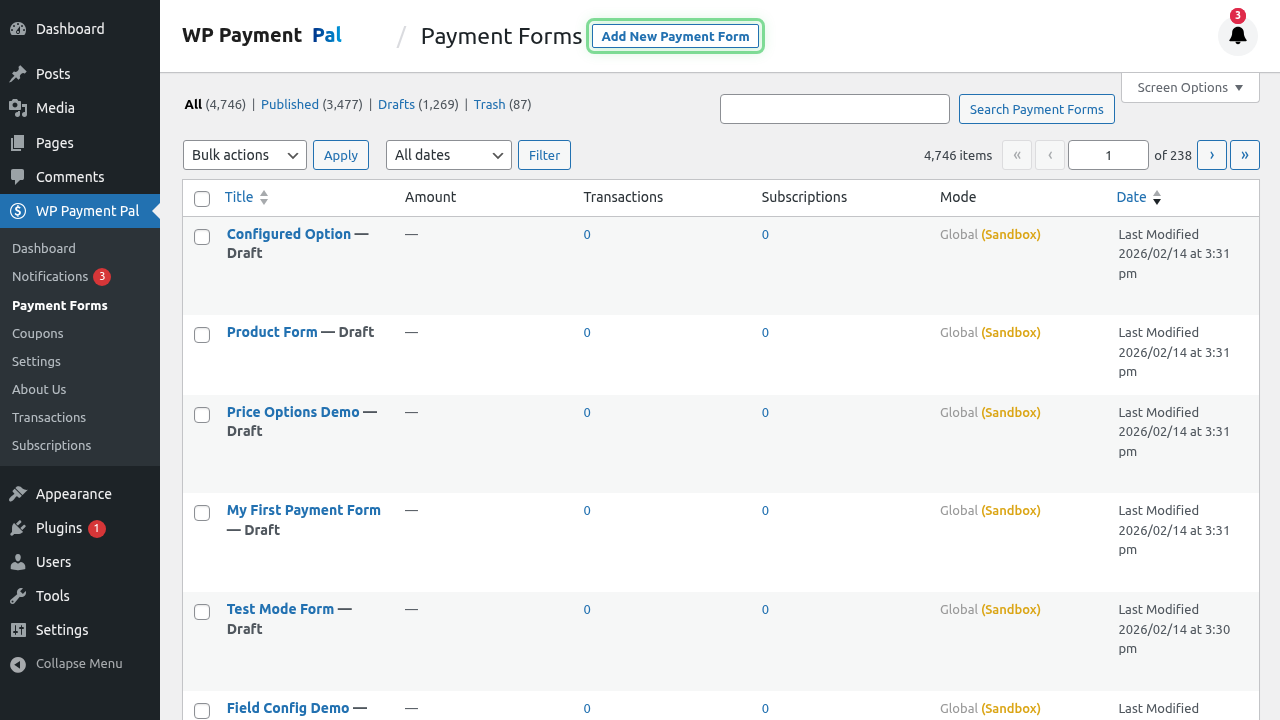
Step 1: Create a New Form
- Go to Payment Forms in your WordPress admin menu
- Click Add New at the top of the page
Step 2: Configure General Settings
Enter basic information about your form:
- Title: Enter a name for your form (e.g., “Product Purchase” or “Donation Form”)
- Description: Add optional text that appears above the form
- Form Type: Choose how the form displays:
- Embedded – Shows inline on the page
- Overlay – Button that opens a popup
- Payment Page – Dedicated page at
/pay/your-slug/
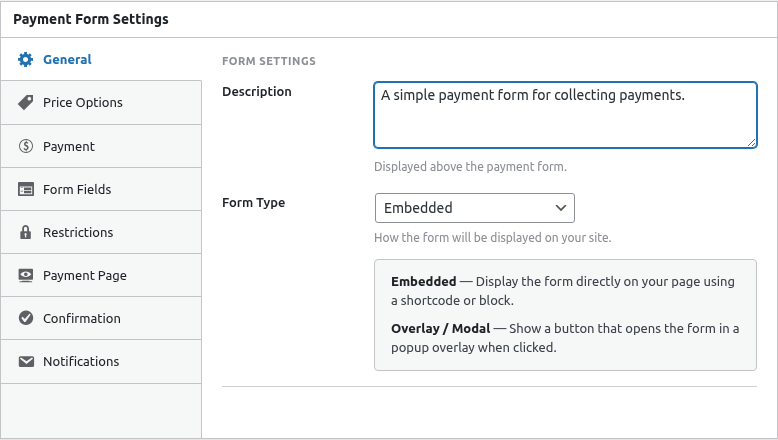
For your first form, we recommend Embedded.
Step 3: Set Up Price Options
Click the Price Options tab to configure what customers pay:
- Click Add Price Option
- Enter a Label (e.g., “Standard Package”)
- Enter the Amount (e.g., 29.99)
- The currency uses your default setting
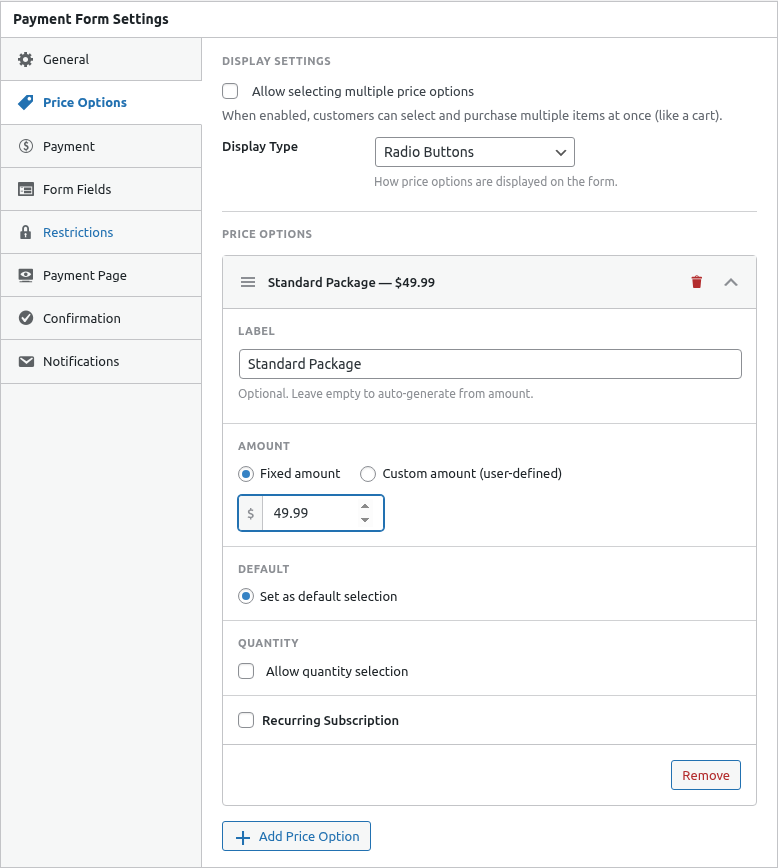
You can add multiple price options to let customers choose.
Quick Price Option Examples
| Use Case | Configuration |
|---|---|
| Single product | One fixed price option |
| Tiered pricing | Multiple options (Basic $10, Pro $25, Premium $50) |
| Donations | Custom amount with minimum |
Step 4: Add Form Fields
Click the Form Fields tab to collect customer information:
- Click the Add Field dropdown
- Select Customer Name
- Click Add Field again
- Select Email
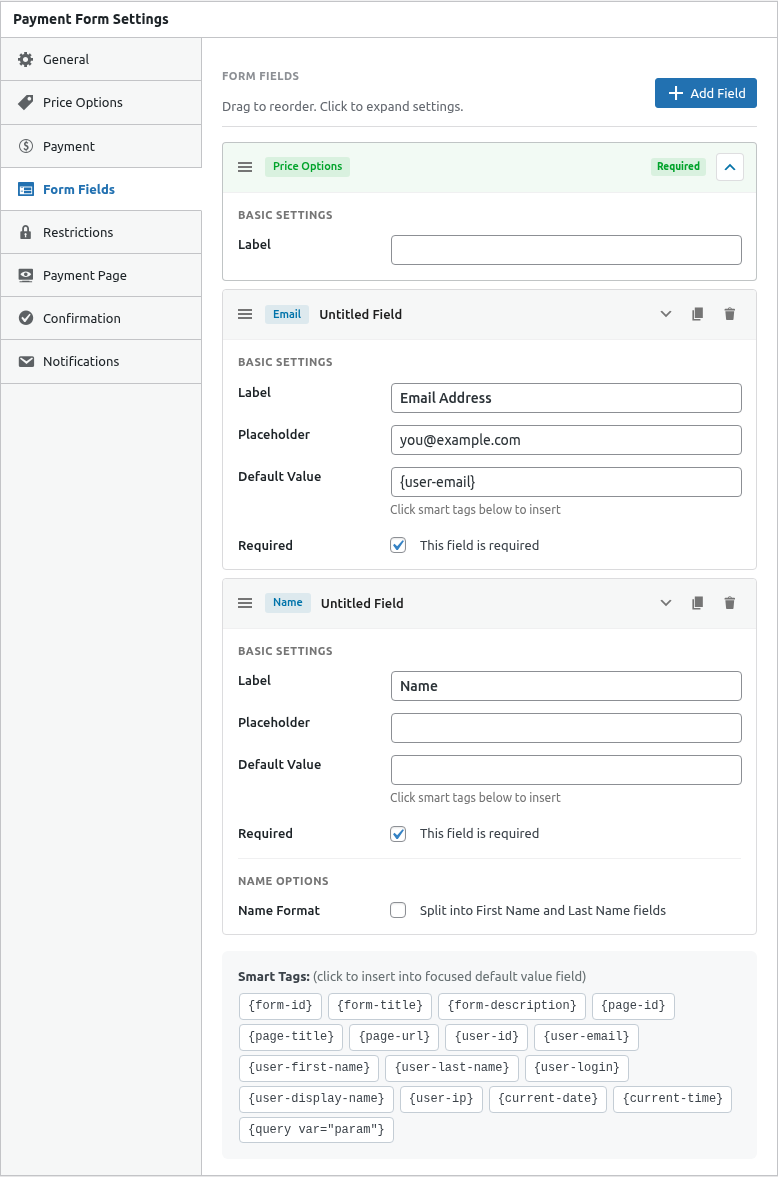
The Email field is required for payment receipts.
Available Fields
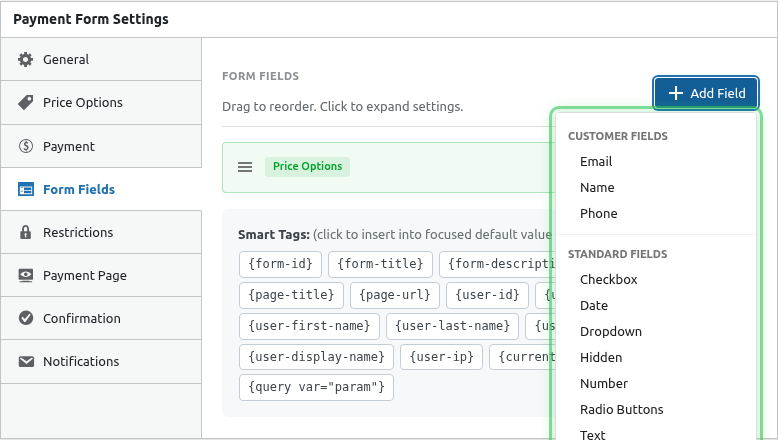
Common fields to add:
- Customer Name – Buyer’s name
- Email – Required for receipts
- Telephone – Phone number (optional)
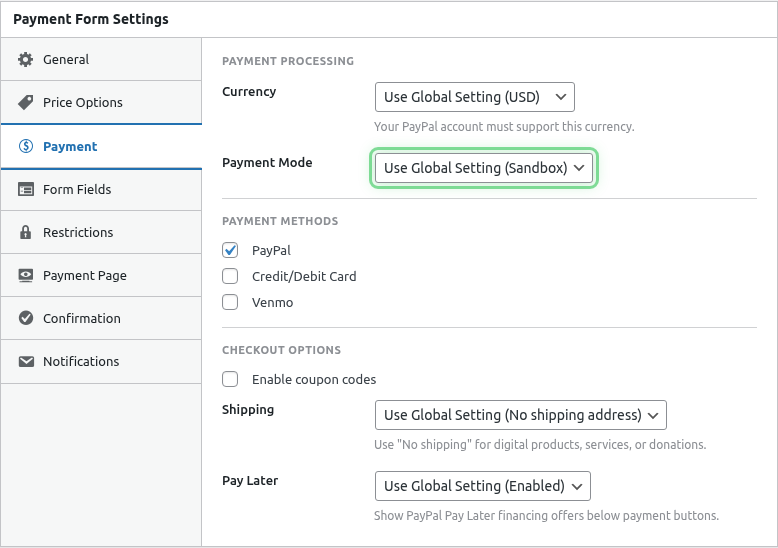
Step 5: Configure Payment Settings
Click the Payment tab:
- Payment Mode: Leave as “Use Default” for now
- Enable Coupons: Toggle on if you want to accept discount codes
Step 6: Set Up Confirmation
Click the Confirmation tab to configure what happens after payment:
- Confirmation Type: Choose “Message” or “Redirect”
- Message: Enter a thank-you message
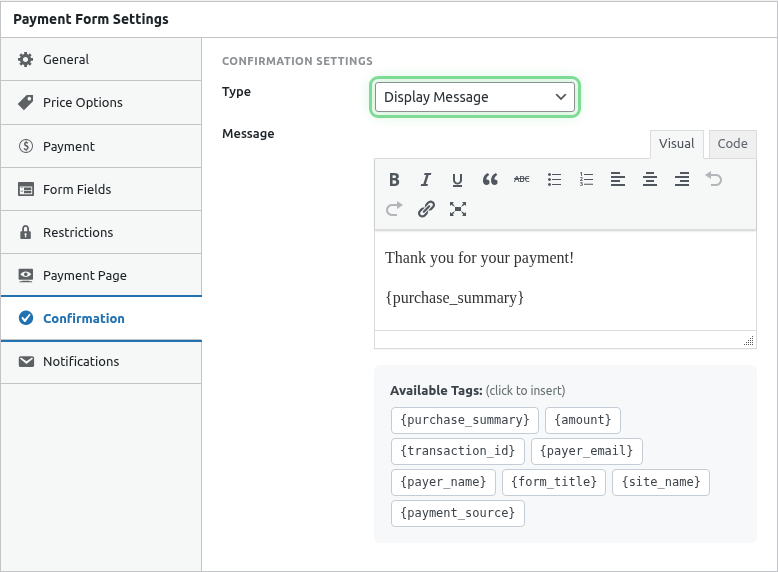
Example message:
Thank you for your payment! You’ll receive a confirmation email shortly.
Step 7: Publish the Form
- Review your settings
- Click the blue Publish button in the top right

Your form is now ready to use!
Step 8: Preview Your Form
After publishing, you can preview your form:
- Look for the Shortcode shown after publishing
- Copy it (e.g.,
[wppal_checkout form_id="123"]) - Create a new page and paste the shortcode
- Preview the page
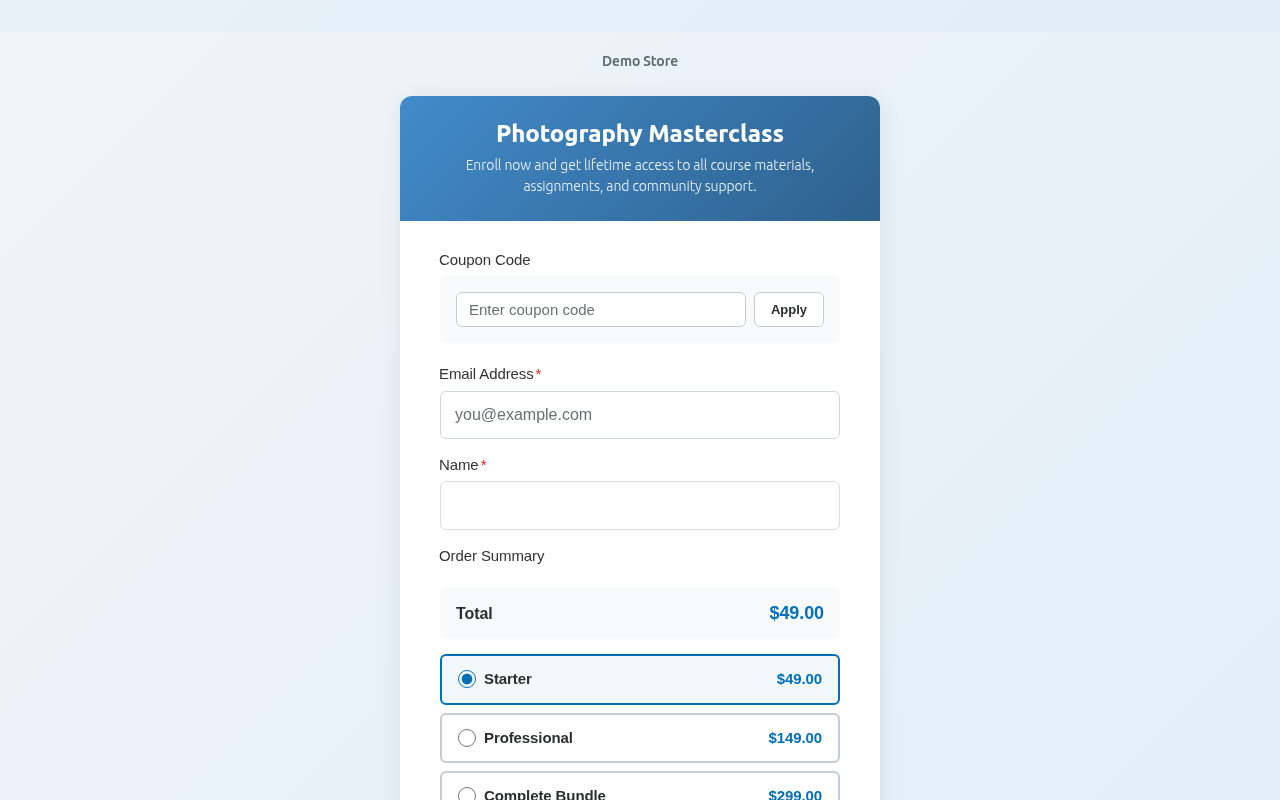
Quick Test
Test your form in Sandbox mode:
- Fill out all required fields
- Click the PayPal button
- Use test credentials to complete payment
- Verify the confirmation message appears
Common Configurations
Simple Product Sale
- 1 fixed price option
- Name and Email fields
- Confirmation message
Service Booking
- Multiple price tiers
- Name, Email, Phone, and Date fields
- Redirect to booking confirmation page
Donation Form
- Custom amount (pay what you want)
- Name and Email fields
- Thank you message with tax receipt info
What’s Next?
- Embedding Forms on Your Website – Add forms to pages
- Setting Up Price Options – Advanced pricing
- Configuring Form Fields – All field types