Reading time: 3 minutes | Difficulty: Beginner
Overview
Control when your payment forms are available by setting start and end dates. This guide covers scheduling forms for specific time periods.
Prerequisites
- A payment form created
- Knowledge of your availability requirements
Accessing Schedule Settings
- Edit your payment form
- Click the Restrictions tab
- Find the Schedule section
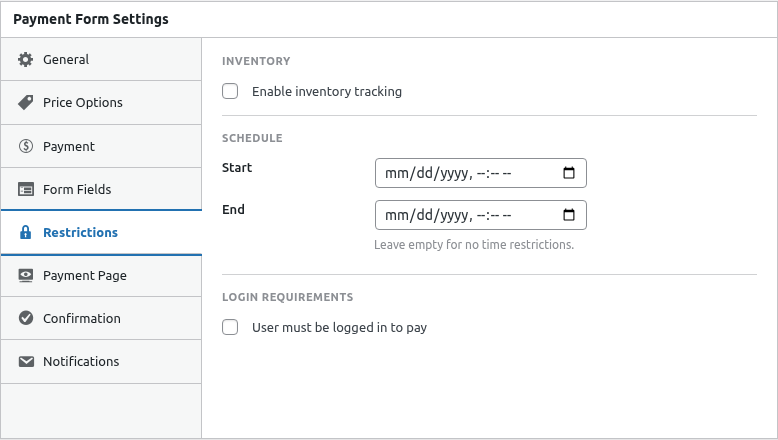
Setting Start and End Dates
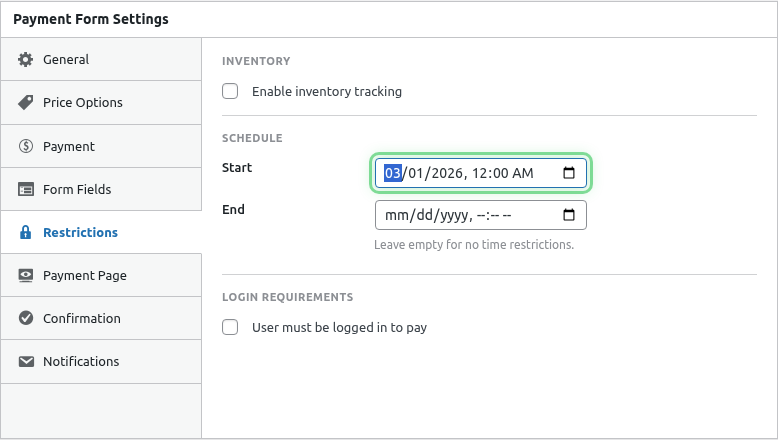
Start Date
When the form becomes available:
- Enable Schedule Start
- Select the start date and time
- Form is hidden/unavailable before this date
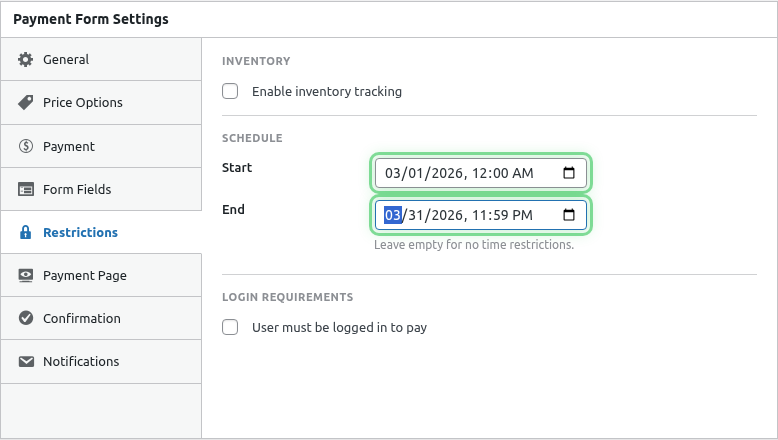
End Date
When the form becomes unavailable:
- Enable Schedule End
- Select the end date and time
- Form is hidden/unavailable after this date

Schedule Options
| Configuration | Form Availability |
|---|---|
| No dates set | Always available |
| Start only | Available from start date onward |
| End only | Available until end date |
| Both set | Available between start and end |
Common Use Cases
Limited-Time Sale
Start: December 26, 12:00 AM
End: December 31, 11:59 PM

Purpose: Post-holiday sale period
Event Registration
Start: January 1
End: March 15 (event date)

Purpose: Registration closes on event day
Seasonal Product
Start: October 1
End: October 31

Purpose: Halloween-only product
Early Bird Pricing
Form 1 (Early Bird):
  Start: Now
  End: January 31
  Price: $99

Form 2 (Regular):
  Start: February 1
  End: None
  Price: $149
Pre-Order Window
Start: Announcement date
End: Ship date

Purpose: Accept pre-orders for defined period
Customer Experience
Before Start Date
Customers see:
- Form not displayed
- Or custom “not yet available” message
- No payment option
During Active Period
Customers see:
- Normal form display
- Full payment functionality
After End Date
Customers see:
- Form not displayed
- Or custom “no longer available” message
- No payment option
Unavailable Messages
Customize the message shown when form is unavailable:
- In Restrictions tab, find Unavailable Message
- Enter your custom message
- Save the form
Example messages:
- “Registration opens January 1st!”
- “This offer has ended.”
- “Early bird pricing ends December 31st.”
Time Zones
Schedules use your WordPress timezone setting:
- Check timezone at Settings > General
- Ensure it matches your intended schedule
- All schedule times use this timezone
Combining with Other Restrictions
Schedules work alongside:
- Inventory limits – Stock AND schedule
- Login requirements – Must be logged in AND within schedule
- Role restrictions – Correct role AND within schedule
All conditions must be met.
Shortcodes and Scheduled Forms
When using shortcodes for scheduled forms:
[wppal_checkout form_id="123"]The shortcode:
- Shows nothing before start date
- Shows form during active period
- Shows nothing after end date
Consider wrapping with context:
[Schedule info here]
[wppal_checkout form_id="123"]
[If not showing, explain why]
Payment Pages and Scheduling
Scheduled Payment Pages:
- URL returns 404 or redirect before/after
- Page only accessible during active period
- Shareable link works only when active
Testing Schedules
Test Future Start
- Set start date to tomorrow
- View the form page
- Verify form doesn’t appear
Test Past End
- Set end date to yesterday
- View the form page
- Verify form doesn’t appear
Test Active Period
- Set start to past, end to future
- View the form page
- Verify form appears normally
Best Practices
- Buffer time – End sales a day early for fulfillment
- Clear communication – Tell customers about deadlines
- Timezone awareness – Consider customer locations
- Test beforehand – Verify schedule works as expected
- Email reminders – Notify about ending availability
Common Questions
Can I change schedule after setting?
Yes, edit the form and update dates anytime.
What happens to in-progress checkouts at end time?
Customers actively on the page can complete. New visits after end time see unavailable.
Can I schedule to the minute?
Yes, if your WordPress supports time selection in the date picker.
Troubleshooting
Form shows when it shouldn’t
- Verify schedule settings saved
- Check WordPress timezone
- Clear any caching
Form doesn’t show when it should
- Verify current time is within schedule
- Check both start AND end dates
- Clear any caching
What’s Next?
- Limiting Inventory/Stock – Stock limits
- Requiring User Login – Login restriction
- Restricting by User Role – Role-based access