Reading time: 3 minutes | Difficulty: Beginner
Overview
This guide walks you through downloading, installing, and activating WP Payment Pal on your WordPress website.
Prerequisites
- WordPress 5.0 or higher
- PHP 7.4 or higher
- A PayPal Business account (for accepting payments)
Step 1: Download the Plugin
Download the WP Payment Pal plugin file (.zip format) from your purchase confirmation email or your account dashboard.
Step 2: Upload to WordPress
- Log in to your WordPress admin dashboard
- Navigate to Plugins > Add New
- Click the Upload Plugin button at the top of the page
- Click Choose File and select the
wp-payment-pal.zipfile you downloaded - Click Install Now
Step 3: Activate the Plugin
After the upload completes:
- Click the Activate Plugin button
- You’ll be redirected to the plugins list with a success message
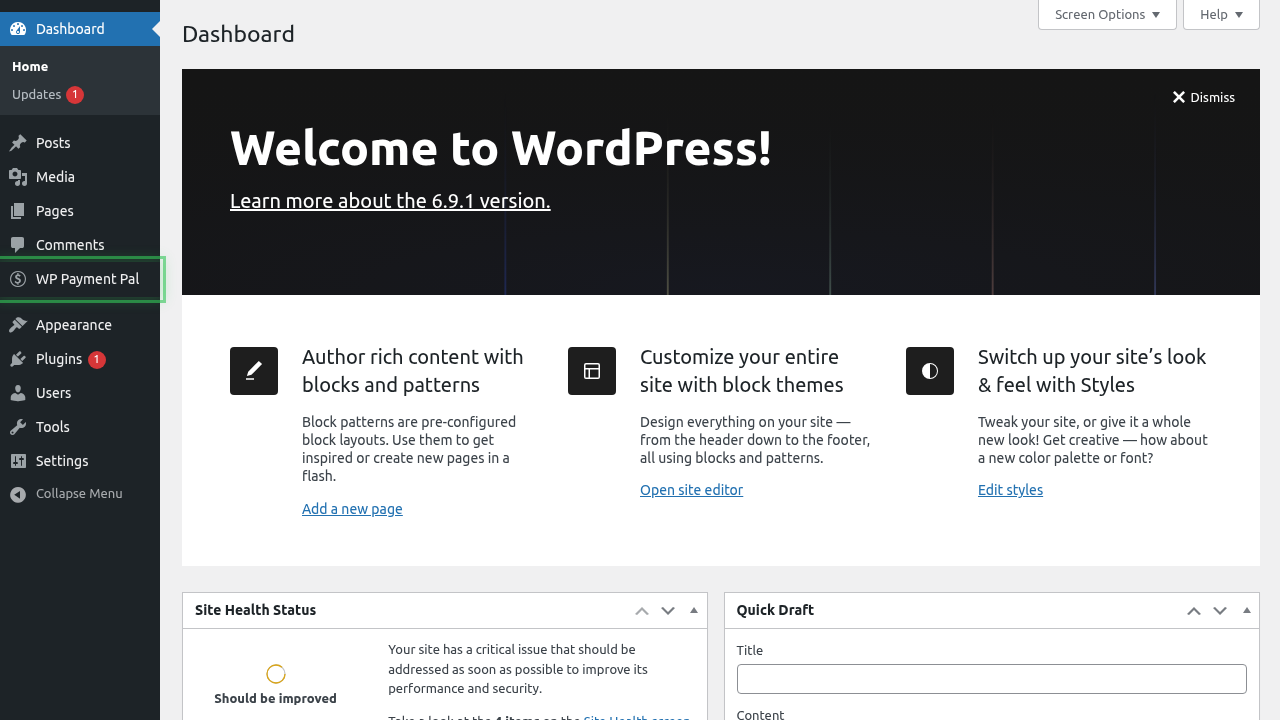
Step 4: Verify Installation
After activation, you’ll see new menu items in your WordPress admin:
- WP Payment Pal – Main plugin menu
- Payment Forms – Create and manage forms
- Transactions – View payment history
- Subscriptions – Manage recurring payments
- Coupons – Create discount codes
- Settings – Configure the plugin
a## Step 5: Enter Your License Key
- Go to WP Payment Pal > Settings
- Enter your license key in the License Key field
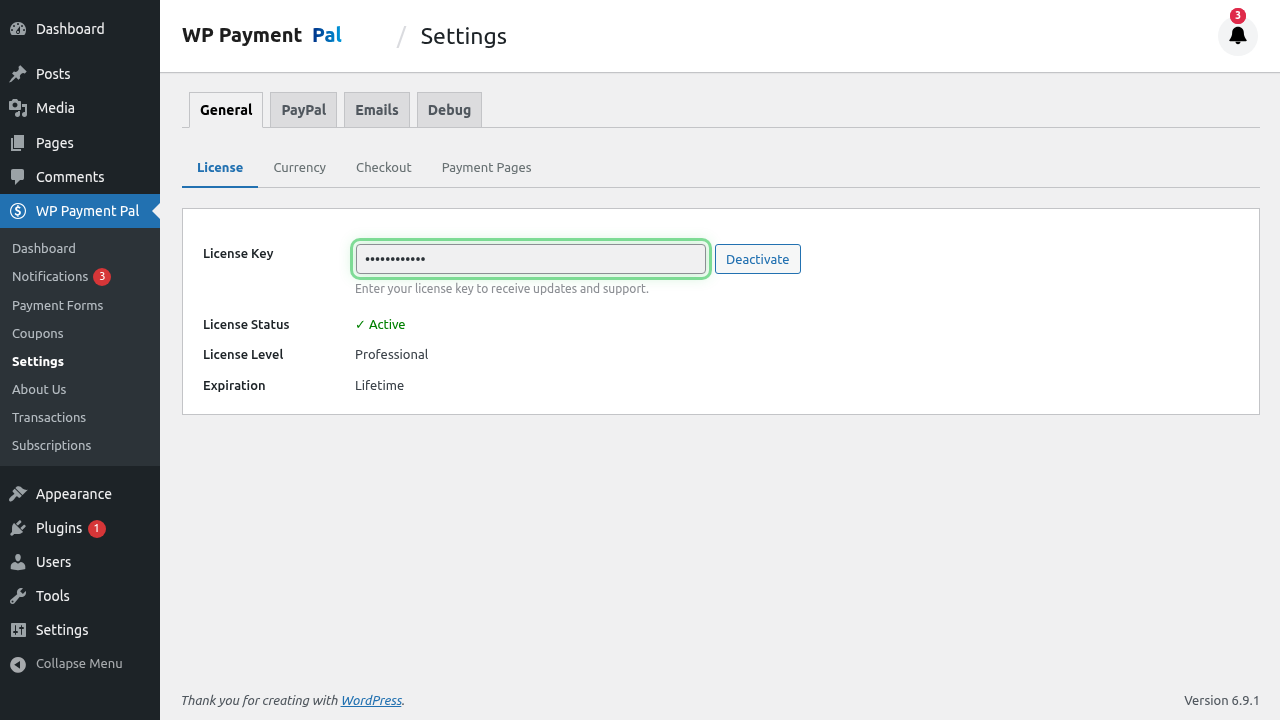
- Click Save Changes
Your license key enables automatic updates and premium support.
Troubleshooting
Plugin won’t activate
- Ensure your server meets the minimum PHP version (7.4+)
- Check that WordPress is version 5.0 or higher
- Deactivate other plugins temporarily to check for conflicts
Menu items don’t appear
- Clear your browser cache
- Log out and log back in to WordPress
- Check user permissions (you need Administrator role)
What’s Next?
- Connecting Your PayPal Account – Link your PayPal business account
- Creating Your First Payment Form – Build your first form